Table of Contents
10.10. Patient medication records
Added: Version 3.11
Introduction
A Patient Medication Record (PMR) is a way of recording all the medications a person is using, whether or not they were dispensed by you. The record contains useful information for the patient such as
- The dosage in a clear easy-to-understand format.
- An (optional) picture of the dose form (tablet, capsule, etc)
- The medication's purpose.
- Common instructions for taking/using the medicine, which may be customised for each patient
Setting up items
Before adding items it is good to set up the standard purpose, instructions and item photo for common items at least. Once set up, you can add these to a particular patient's PMR with just the click of a button.
- Find the item you are interested in and go to the dispensing tab
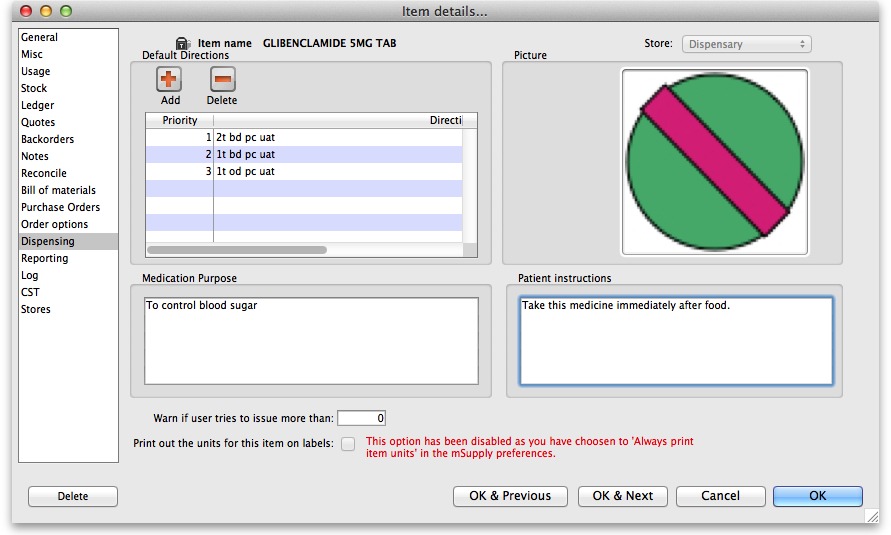
- Enter purpose and instructions. Both these fields can take as much text as you wish to enter.
- Add a photo by either dragging a photo from another application or pasting a photo from the clipboard.

mSupply will automatically resize large photos when you add them- there is no need to resize photos yourself first.
Default direction
On the default direction list, you can add a combination of abbreviation which can be used to fill in the direction while issuing drugs to patients.
To set up abbreviation, view 10.05. Abbreviations for dispensing

Add This is to add default directions. You may combine multiple abbreviation code to make up a sentence. You may even add a full sentence.
Delete This is to delete direction.
Direction for items that were added above will be available when dispensing to patients.

Note the Drop down list will now be populated by the default directions. Once a direction is chosen, mSupply will expand valid abbreviation to sentences. It is possible to have more than one set of direction as options.
Adding items to a PMR
There are 2 ways of adding items to a PMR
- From the patient history tab:
- Highlight the items from the patient's history you wish to add, then click the Add to PMR button.
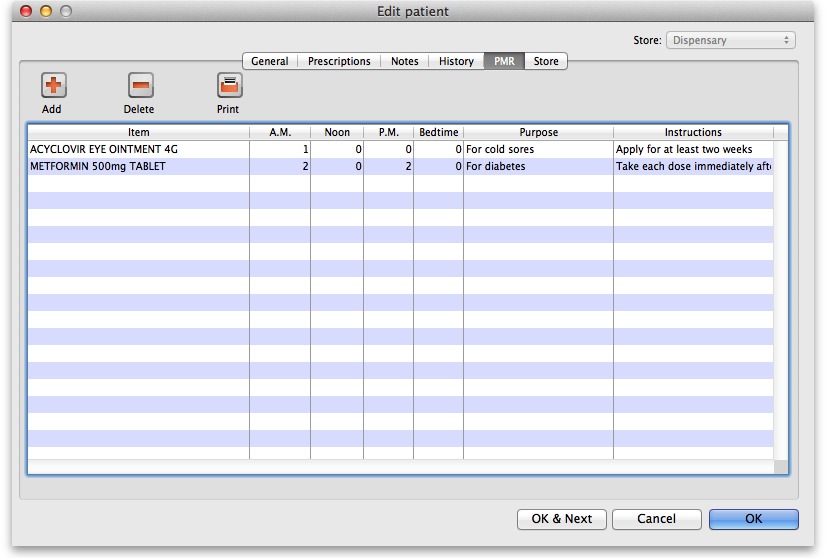
- The record will be shown on the “PMR” tab if you switch to it.
- Note that on the PMR tab you still have to double-click on the added record and fill in the dose, instructions etc.
- From the Patient details PMR tab
- Here you can add any item that is in the mSupply catalogue.
- For example, a patient might be regularly taking paracetamol or aspirin that they buy themselves. You can add such items here.
- To add an item, click the Add item button. You will be shown a new window:

- Item name: type the start of the item name and press <tab>, then select from the list
- Dosage: Enter the number of tablets/drops/whatever to be taken/administered morning, noon, evening and bedtime.
- Purpose: If the item has a purpose entered, click the copy button to copy it to the right-hand box. Here you can edit the details if you want to.
- Instructions: If the item has instructions entered, click the copy button to copy them to the right-hand box. Again, you can edit the details if you want to.
- Click OK when you're done, or cancel if you decide not to add a record.


Editing a PMR entry
To edit a PMR, double-click the entry you wish to edit, change details, and click OK to save the changes and close the window.
Deleting a PMR entry
To delete a PMR entry, highlight the record(s) you wish to delete, then click the delete button. (Do be careful- it's not reversible!)
Printing a PMR
Setting up printing preferences
When a PMR is printed, it has a header and footer. These are set up by choosing File > Preferences and then clicking the Patient Medication tab.

Note that you can style the text in these boxes by selecting text and right-clicking on your highlighted text to get a contextual menu to apply font styles, colour and size.
Printing a PMR
Simply click the Print button. Note that you do not have to highlight records- all records will be printed.
Currently we have included a single PMR printing form in mSupply. We are happy to include others- send us your designs.
| Previous: 10.09. Warnings | | Next: 10.11. Printer setup for Remote Desktop Client |