This is an old revision of the document!
Mobile Customer Interface
*
What is it?
The mSupply Mobile Customer Interface allows staff of Customers of your mSupply system to report their stock levels and order stock from a Virtual store in your mSupply system from browsers on any mobile devices (smartphones, tablets, net-books, etc.).
While smaller screen devices will function, it is generally impractical to use devices smaller than a tablet.
Also included in this section is a description of what actions are taken by mSupply Desktop Users in response to orders coming through the mSupply Mobile Customer Interface.
Features and Limitations
mSupply Mobile Customer is designed to be used by staff of your Customer, that is, personnel outside of your organisation. For this reason, mSupply Mobile Customer will only access / update a restricted set of data in your Server.
mSupply Mobile Customer's features are:
- (Supplier) Invoices: Display a list of Supplier Invoices (Processed and In-Process) and details of any selected Supplier Invoice. Invoices that have been finalised cannot be edited. Supplier Invoices cannot be deleted.
- Orders: Display a list of Orders placed with the supplying store. Orders can be created, deleted and edited (lines can be added, deleted or edited).
- Items: Display a list of Items and simplified details of any selected Item Line, including, of course, stock on hand. Inventory adjustments are carried out through a stocktake process - refer below.
- Stocktakes: Display a list of Stocktakes (incl. Imprests) and details of any selected Stocktake. Stocktakes can be added, deleted and edited (lines can be added, deleted and edited).
Batch number and expiry date are not displayed, selectable or editable in mSupply Mobile Customer. Once Stock leaves the mSupply system to a Customer, mSupply stops keeping track of these details.
Connecting to mSupply Mobile Customer
Once the mSupply web server is running, you can access it by typing http://ip_address_of_machine_running_msupply/customer/
The hyperlink above links to Sustainable Solutions' mSupply Web Server for mSupply Mobile Customer demonstration. You will not be able to proceed further without a username and password - see below. Contact us email:info@msuppy.org.nz if you would like a temporary username and password to try it out.
Once set up with your own Web Server, the correct link can be bookmarked to save you typing it each time.
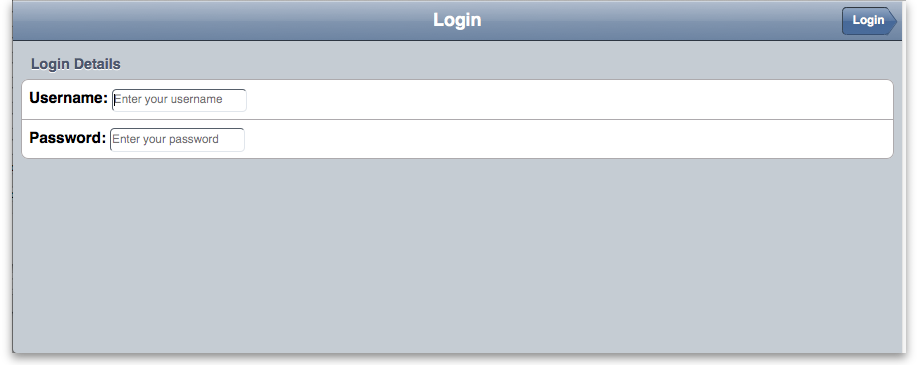
mSupply Mobile Customer login
The Navigator
You are now shown the mSupply mobile customer options:
Tap on:
- Show Processed Invoices to see invoices from the supplying store that have already been processed.
- Show In-Process Invoices to see invoices from the supplying store that have not finished being processed.
- Show Items to see information on items invoiced from the supplying store.
- Show Orders to view a list of orders that have been created.
- Create Orders to create a new order for stock from the supplying store.
- Show Stocktakes to view and create stocktakes or imprests.
Show Processed Invoices
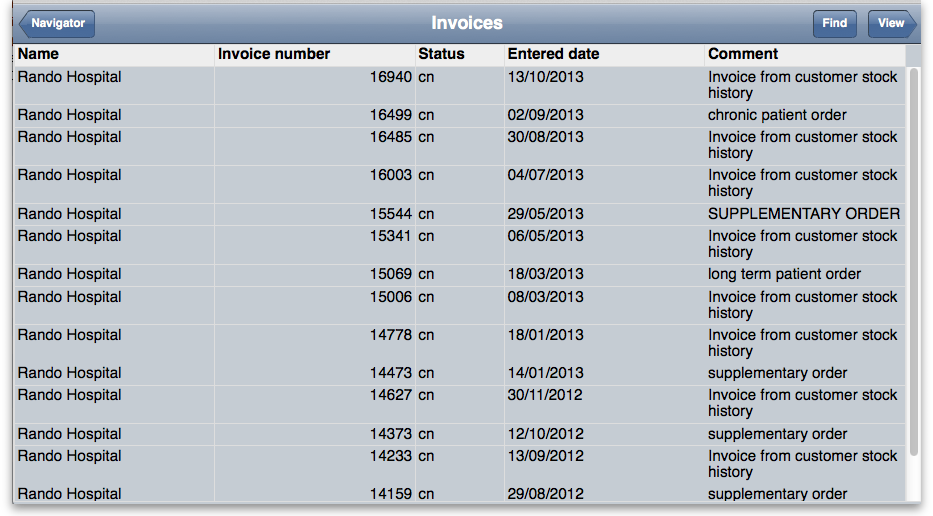
Tap Show Processed Invoices and the invoices that have already been confirmed will be displayed:
Tap Find to show a screen where you can search for a particular invoice:
View Invoice details
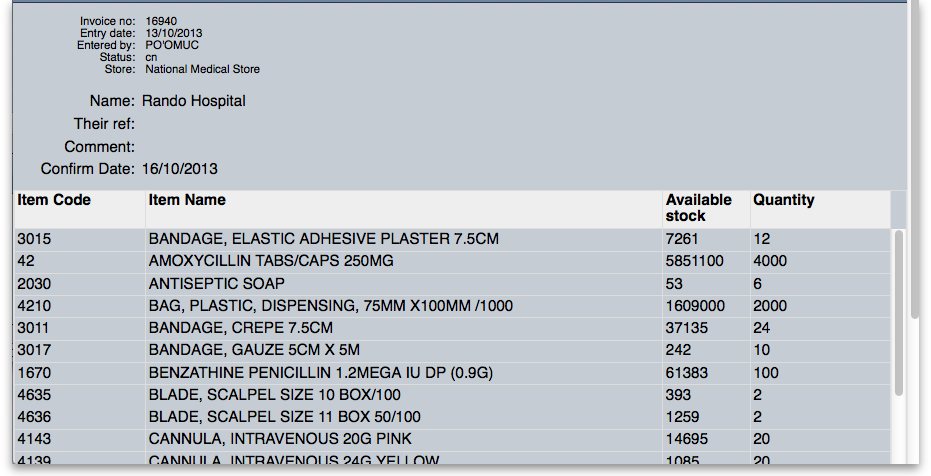
If you tap on a particular row, then tap View you will be shown the details of that invoice:
Tap Home to go back to the home screen.
Show In Process invoices
Choosing this option will display the list of invoices that have not been confirmed or finalised. The invoices displayed have their status of suggested(sg).
View Invoice details
To view item details, refer to View Invoice details
Tap Home to go back to the home screen.
Show Items
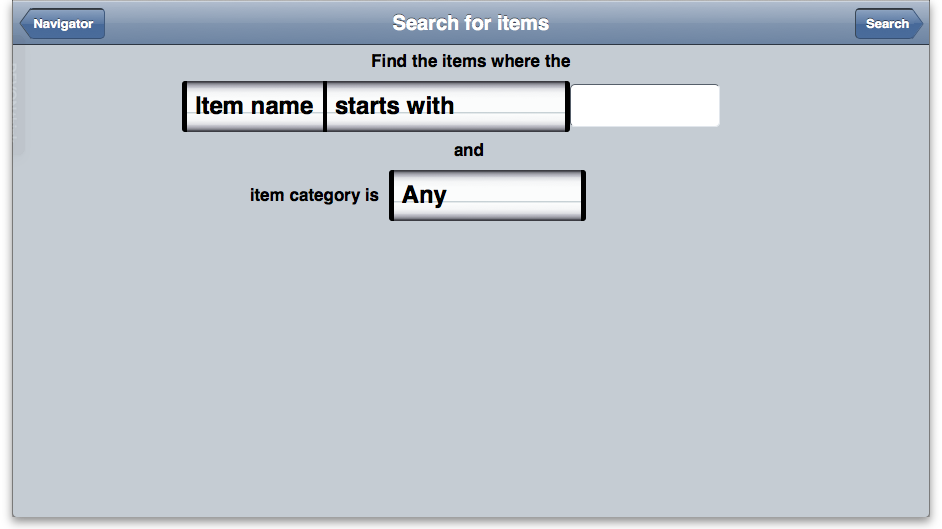
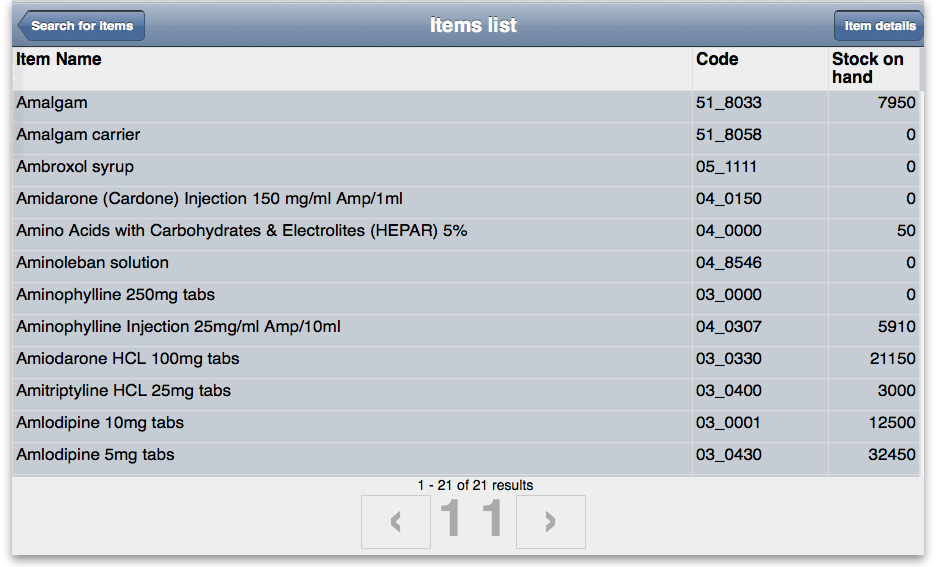
Tap “Show Items” to make a search of invoices on the basis of items. It will display the window as shown below.
Enter the name of the item which you want to search or leave it empty to list all the items. Click Find button.
By tapping the row of a specific item details are shown..
Show Orders
Select Show Orders to display a list of orders that have been created.
To view or edit an existing order, tap on the order's row to highlight it, then tap on View/Edit order
To delete an existing order, tap on the order's row to highlight it, then tap on Delete order
Tap on Navigator to return to the navigator screen.
Create Orders
Tap on “Create Order” to display a screen for entering your order.
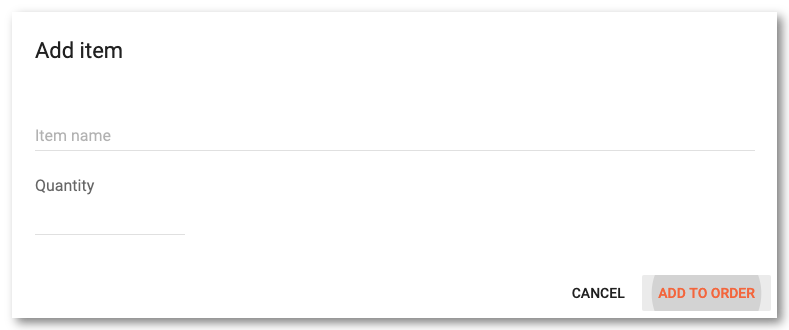
To add a new line, tap on New line and enter the item and the quantity to add:
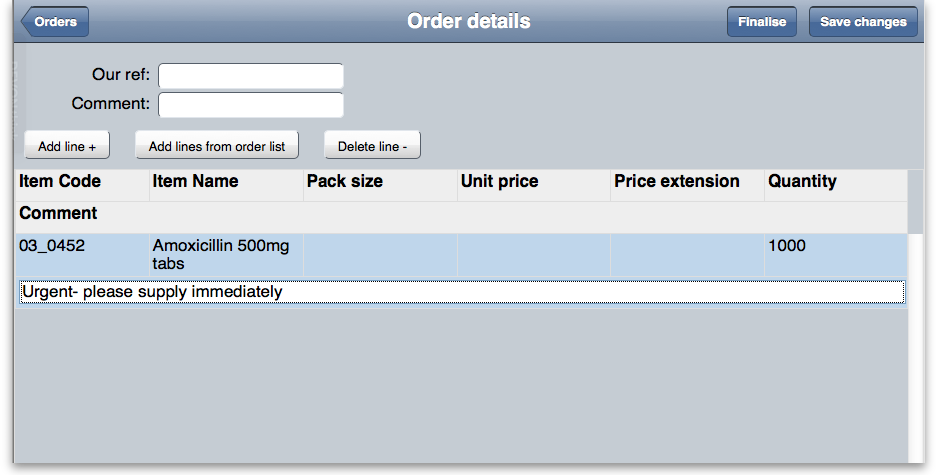
Tap on Add to order to proceed and return to the items in this order. If you wish to add a comment you can do so directly in the list by clicking the blank row under each item:
Note you can also edit the quantity directly in the list.
If you have been assigned an order list of the items you are allowed to order, tapping the Add lines from Order list button will display the items on the list(s) defined for the group(s). <note important>For setting up a default order list, see Names: Using, adding and editing </note>
The list will be displayed in the same order as was specified when setting up the list in mSupply.
Once the order is complete, tap the Finalise Order button to finalise the order that you have created. It will now be able to be processed, and you might even get your supplies delivered quicker than you would have by submitting a written order 
Show Stocktakes
The stocktakes feature is useful to those users at a central supply facility who are responsible for managing orders from a number of remote facilities based on the stock levels in those facilities.
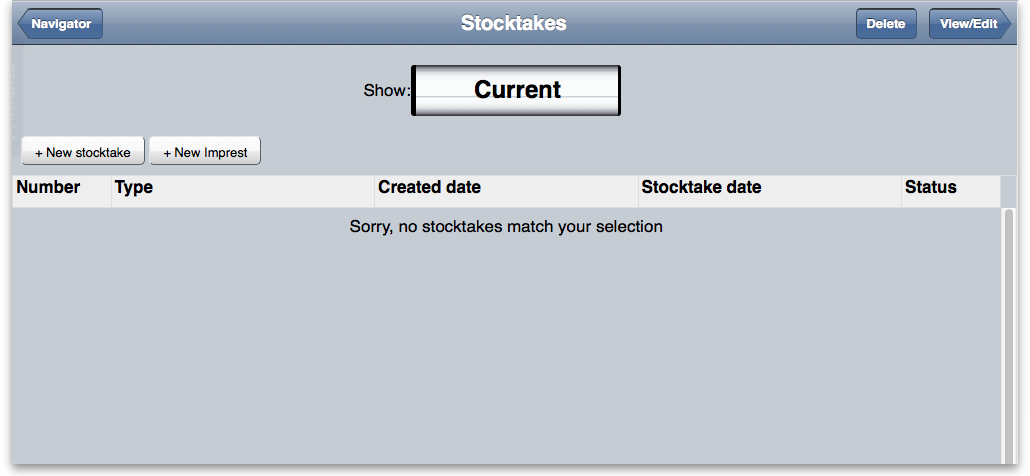
You are shown a list of stocktakes you have entered.
From this window you can view an existing stocktake by tapping on a row and then on the View/Edit button. You can choose to create a New stocktake or New imprest by clicking the appropriate button. The option chosen depends on whether you are using the dynamic Stock History system of stock management, or the Imprest system. These systems are covered elsewhere in the user guide. See Stock Control methods for your customers.
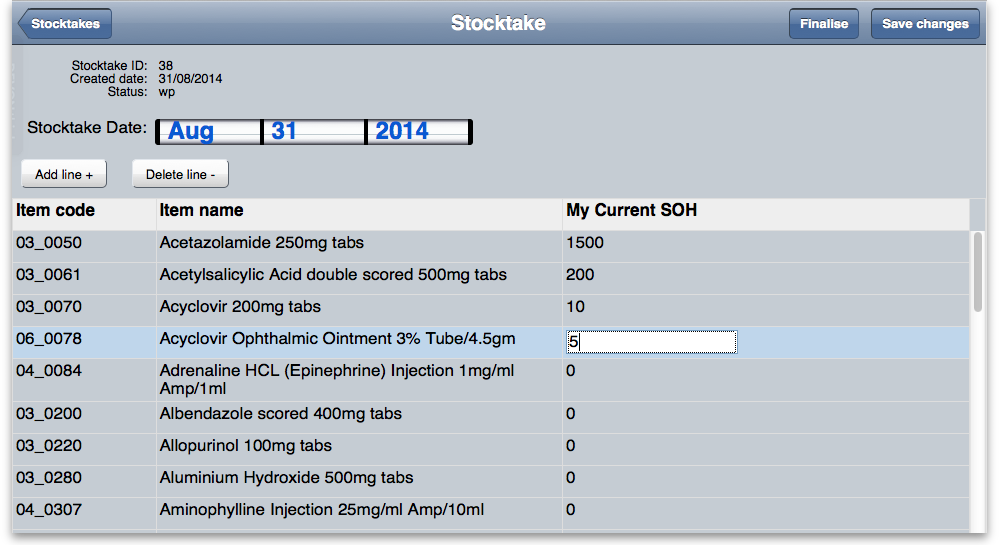
By clicking either of the New stocktake or New imprest buttons you are presented with a screen showing the items you carry in stock.
Enter the stock on hand for each item into the My current SOH column:
Once you have entered all your stock on hand figures, tap Finalise to send the stocktake to the central store.
If you want to finish the entries later, click Save changes and then Stocktakes to return to the list. You can then use the View/Edit Button on the stocktakes list to return to your stocktake later.
Back at the central store....
The operator at the central store may then process the information entered by the remote customer by choosing from the menu Customer>Show customer stock history, and looking in the Customer stock history list window for recent entries having a status of wf (web, finalised). Double clicking on the desired entry displays the Edit customer stock history window showing the data entered by the remote customer. The details may be reviewed, and figures entered in the Actual quantity column before clicking on Create Customer Invoice,at which point the status changes from WF to sg and it may no longer be viewed by the remote customer.
